Back
Home About Projects Robotics Skills Contact Let's Build →
IIT Guwahati Internship

Autonomous drones, built from scratch

A research internship at IIT Guwahati spent assembling multi-rotor drones, configuring Pixhawk and Cube Orange flight controllers, and wiring a Raspberry Pi 4 into the loop for real-time vision.

The result: a follower drone that autonomously detects and tracks a manually piloted leader drone using onboard object detection.

↻ Leader–Follower architecture • YOLOv8 + MAVLink
Featured background
IIT Guwahati Research Internship

Building an autonomous leader–follower drone

A research internship at the Department of Electrical and Electronics Engineering, IIT Guwahati, focused on assembling multi-rotor drone hardware, configuring professional-grade flight controllers, and implementing vision-based autonomy on a Raspberry Pi companion computer — culminating in a drone that autonomously tracks and follows another drone in flight.

2Flight controllers configured — Pixhawk & Cube Orange
YOLOv8Onboard object detection running on a Raspberry Pi 4
TELEM2UART / MAVLink bridge between Pi and Cube Orange
3Engineers — Ariyan Nath, Chandan Chetia, MD Sohail Ali
Hardware Setup

Nine components, one flying system

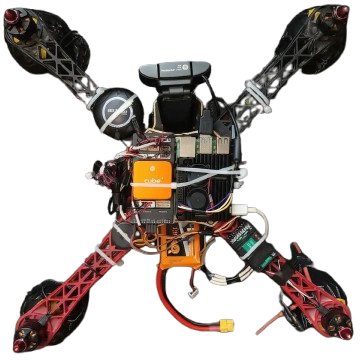
A modular build — structural frame, propulsion, power, flight control, and an onboard companion computer for perception — chosen for ease of assembly, debugging, and future scalability.

01

Drone Frame

Structural base for all motors, sensors, and electronics — providing mechanical stability and proper weight distribution.

02

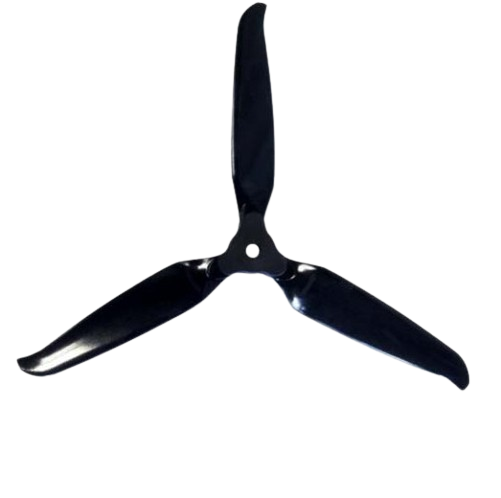
BLDC Motors & Propellers

Brushless motors paired with sized propellers to generate lift and thrust for efficient, stable propulsion.

03

Electronic Speed Controllers

One ESC per motor, regulating speed from flight-controller signals for precise thrust control.

04

PDB & LiPo Battery

The Power Distribution Board fed regulated power from a Li-Po battery to ESCs, flight controller, and electronics.

05

Pixhawk Flight Controller

Central processing unit handling sensor fusion, stabilisation, navigation, and control algorithms.

06

Cube Orange Flight Controller

The primary autopilot used for the leader–follower build — interfaced directly with the Raspberry Pi over TELEM2.

07

Telemetry Module

Radios for real-time, bidirectional communication with the Ground Control Station via Mission Planner.

08

Raspberry Pi 4

Onboard companion computer for real-time video processing, object detection, and autonomous decision-making.

09

Camera Module

A webcam connected to the Pi to capture the live video feed used for object detection and tracking.

Assembly & Integration

From bare frame to wired autopilot

Five stages of hardware integration, each verified before moving to the next — motors first, autonomy last.

STEP 01

Frame & Propulsion

Assembly began with mounting the motors and ESCs onto the drone frame. ESCs were connected to the motors and routed to the Power Distribution Board, with care taken over insulation and secure wiring to prevent electrical interference and mechanical damage.

STEP 02

Flight Controller Mount

The Pixhawk / Cube Orange was mounted at the frame's centre using vibration-damping mounts to minimise sensor noise, with orientation aligned to manufacturer specifications for accurate attitude estimation.

STEP 03

Power Integration

The battery and power module were integrated to supply regulated power to the flight controller and peripherals. Every power connection was verified with a multimeter before the system was first energised.

STEP 04

Telemetry Link

The telemetry module was connected to the flight controller to enable bidirectional communication with the Ground Control Station, allowing real-time monitoring of flight parameters through Mission Planner.

STEP 05

Companion Computer

The Raspberry Pi 4 was mounted securely with a forward-facing webcam and powered from a regulated power bank. Its GPIO pins were then wired to the Cube Orange's TELEM2 port — TX, RX, and GND — for MAVLink-based serial communication.

Drone Calibration

Twelve checks in Mission Planner

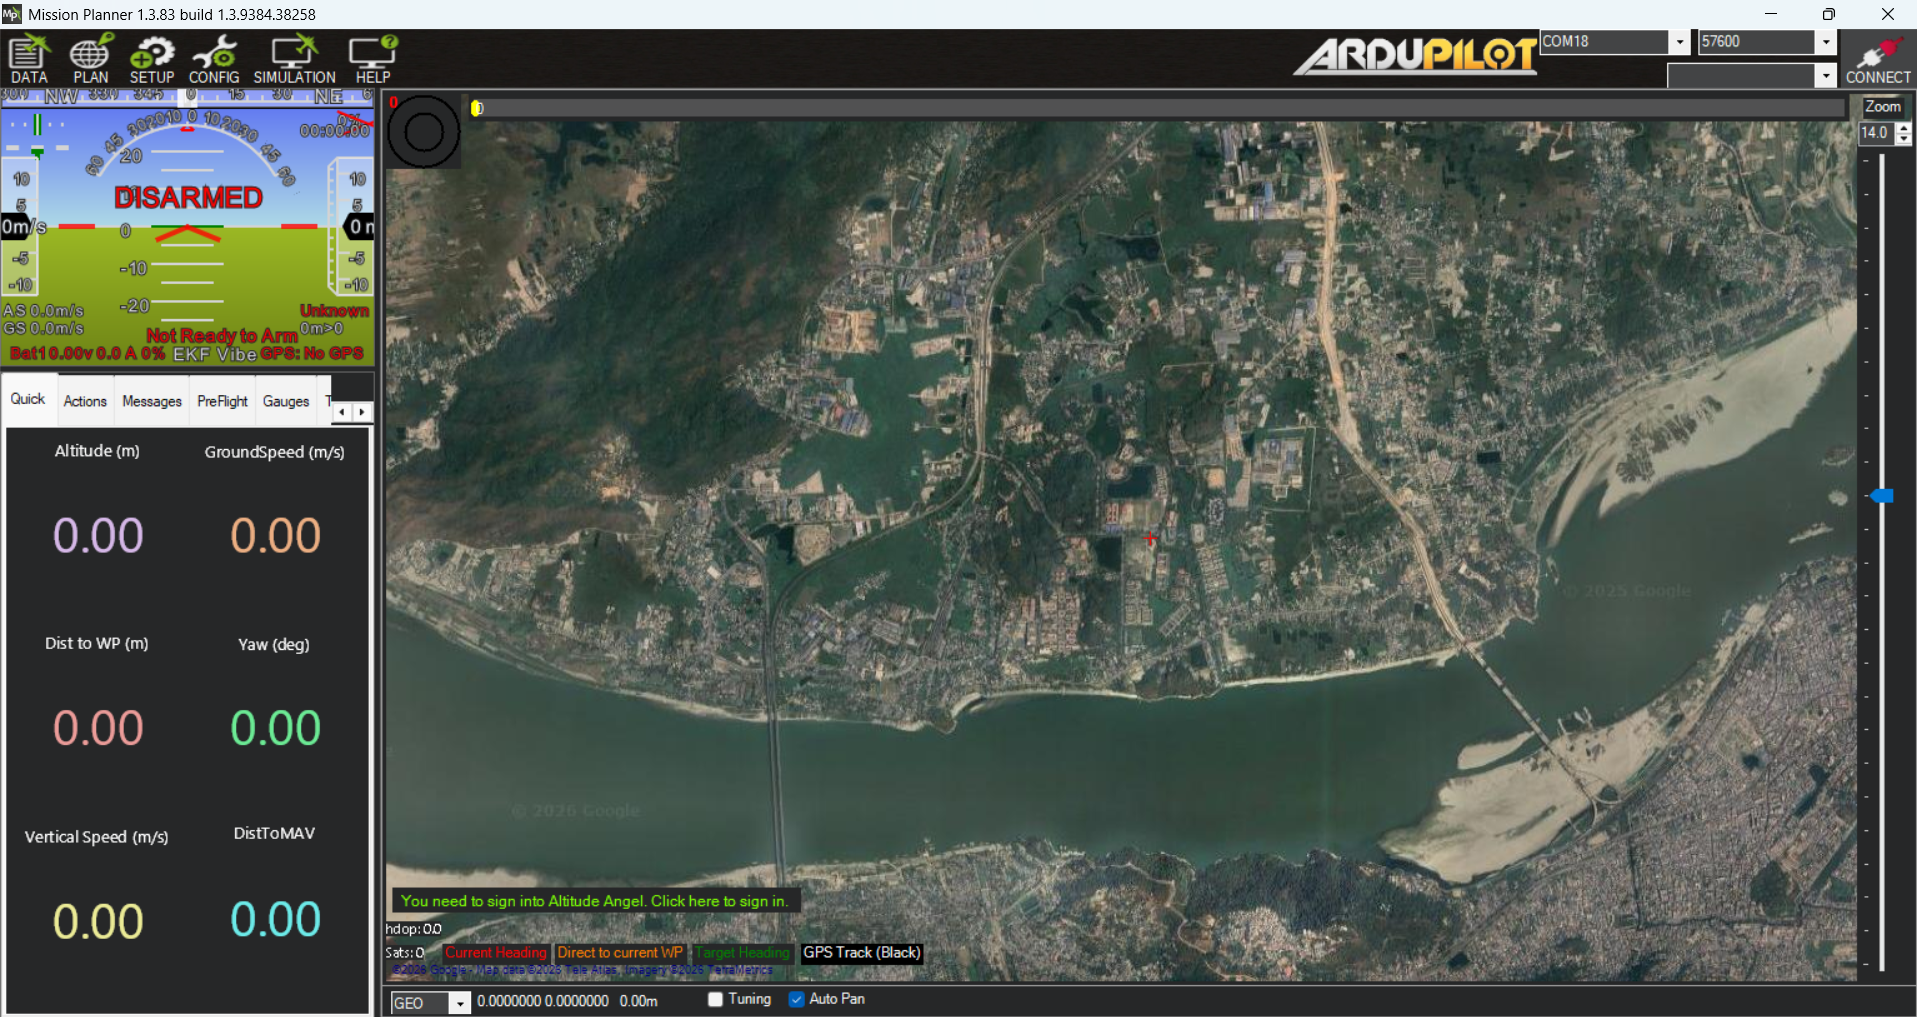
Every calibration pass ran through Mission Planner as the Ground Control Station, connected via telemetry or USB — from firmware verification to a validated test flight.

Connect & verify

Power on the drone and GCS, connect the flight controller to Mission Planner, and confirm firmware and board configuration.

Accelerometer calibration

Place the drone in six orientations and record sensor offsets.

Compass calibration

Rotate the drone along all axes, away from magnetic interference.

Radio calibration

Calibrate throttle, roll, pitch, and yaw, and assign auxiliary switches.

ESC calibration

Synchronise the throttle range for a uniform response across all motors.

GPS verification

Confirm satellite count, fix type, and HDOP before flight.

Failsafe & safety parameters

Configure battery failsafe, RC failsafe, and arming checks.

Flight modes & pre-flight checks

Assign Stabilise, Loiter, RTL, and Auto-tune, then verify motor direction, propeller orientation, and sensor health.

Test flight & validation

A successful test flight confirmed the drone was properly calibrated and ready for autonomous experiments.

Mission Planner calibration screen
Problems & Fixes

Where things went wrong — and how they got fixed

Troubleshooting hardware, connectivity, and networking issues did more for practical understanding than any tutorial could.

Hardware & Flight Controller

Problem

Sparse documentation for the Cube Orange meant small but critical configuration parameters weren't explained anywhere obvious.

Fix

Extensive experimentation and cross-referencing official documentation to fill the gaps.

Problem

Mission Planner intermittently failed to hold a stable connection, lagging or freezing mid-calibration.

Fix

Repeated reconnections and restarts to recover a clean session.

Problem

The receiver ignored radio input during calibration.

Fix

Traced to improper transmitter–receiver binding — re-binding resolved it.

Raspberry Pi & Remote Access

Problem

No remote access to the Pi in the initial setup phase.

Fix

SSH and Raspberry Pi Connect, locating the Pi with ping hostname.local — both devices had to share a network.

Problem

On USB-C power-up, the Pi sometimes forgot its Wi-Fi credentials and lost internet access, blocking SSH entirely.

Fix

Reinstalling the OS repeatedly was too slow. Removing the password and running the target network open resolved the reconnection issue for good.

Leader–Follower Setup

One drone watches, one drone follows

Two drones fly simultaneously with distinct roles: a manually piloted Leader providing a dynamic target, and an autonomous Follower that processes visual data to maintain relative position — no direct human control of the follower required.

Cube Orange (TELEM2)Raspberry Pi GPIO
GNDGPIO Pin 9
TXGPIO Pin 10
RXGPIO Pin 8
# verify the MAVLink bridge over TELEM2mavproxy.py --master=/dev/serial0 --baudrate 57600 --out=udp:127.0.0.1:14550

With UART communication confirmed, a drone_pursuit.py script tied it all together: a colour-blob tracker locates the leader in each frame, estimates distance from its apparent size, and streams velocity + yaw-rate commands to the Cube Orange over MAVLink — auto-arming, switching to GUIDED_NOGPS, taking off on first detection, and closing the gap while keeping the target centred.

Vision & Software

Detection running onboard, streamed live

Before wiring detection into flight control, the pipeline was validated independently: a YOLOv8n model reading frames from the webcam, with results pushed out as a low-lag MJPEG stream over the Pi's own HTTP server.

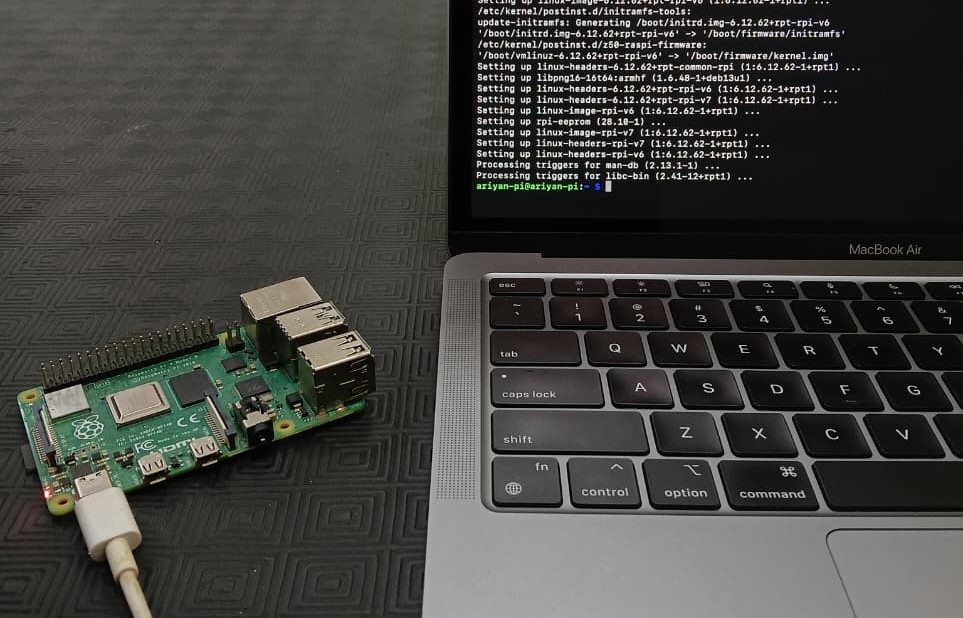
Raspberry Pi setup
Python 3OpenCVUltralytics YOLOv8 MAVProxypymavlinkimutils Mission PlannerSSH / Raspberry Pi Connect
Results

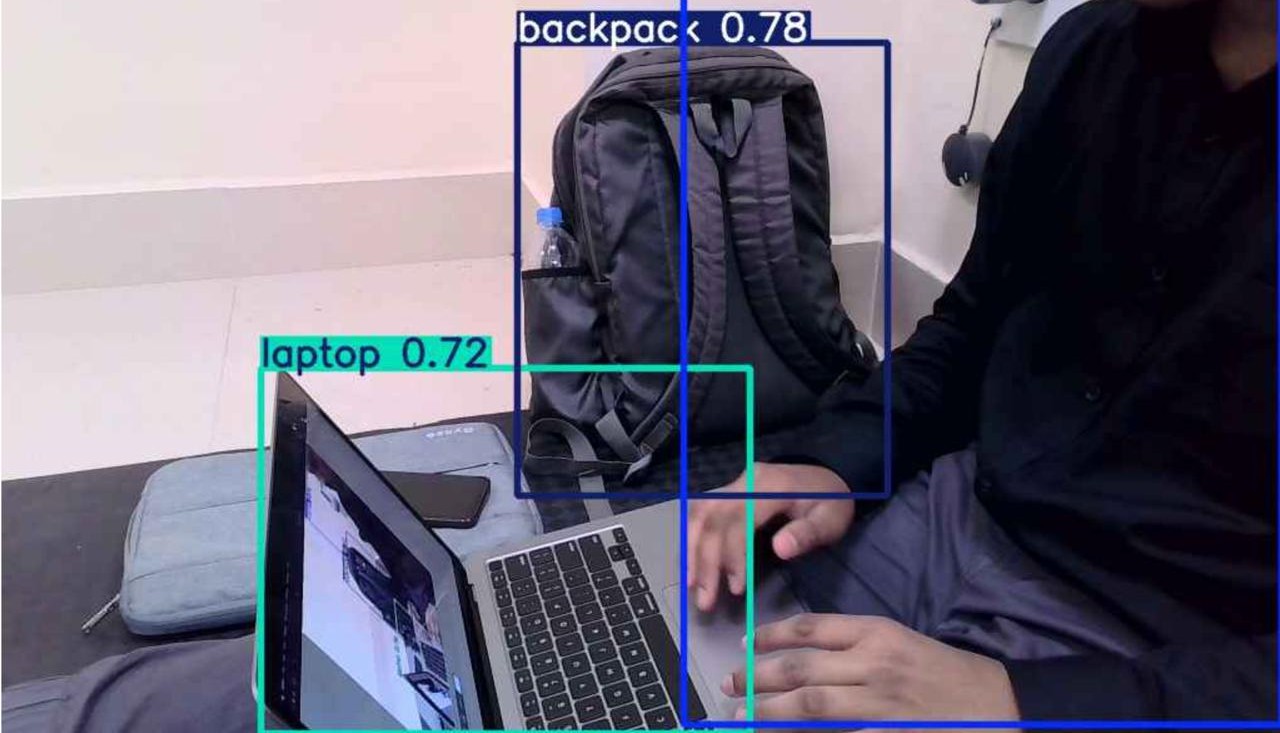
What the webcam saw

Live inference on the companion computer picked up objects mid-frame with high confidence — the same pipeline later repointed at the leader drone in flight.

person · 0.92backpack · 0.78laptop · 0.72
YOLO detection output
Conclusion

Theory, wired into a working system

"Vision-based autonomous drone following is achievable on low-cost embedded hardware and open-source flight software — a foundation for future work in multi-drone coordination and swarm robotics."

Chandan ChetiaB.tech CSE
Ariyan NathB.tech CSE
MD Sohail AliB.tech CSE

With thanks to Professor Dr. Chayan Bhawal for guidance throughout, to PhD scholar Paraj Ganchaudhuri for constant technical support, and to IIT Guwahati for the opportunity.